It is not at all necessary to seek help from a plumber, since it is quite possible to carry out the process of installing or replacing the toilet seat yourself
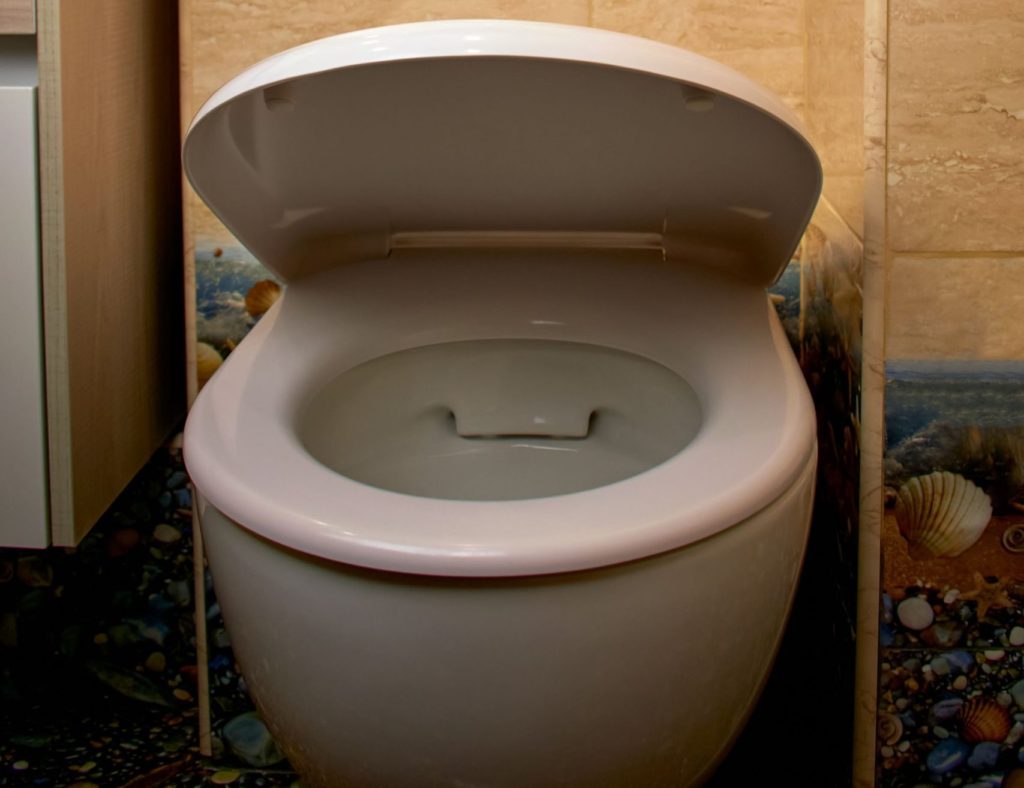
In order to make the use of the toilet as convenient as possible, seats with a lid are installed on it. Sometimes the elements of the seat can wear out and lose their original appearance. In this case, it is advisable to think about replacing it. It is not at all necessary to seek help from a plumber, since it is quite possible to carry out the process of installing or replacing the seat yourself.
Step one: choosing a cover
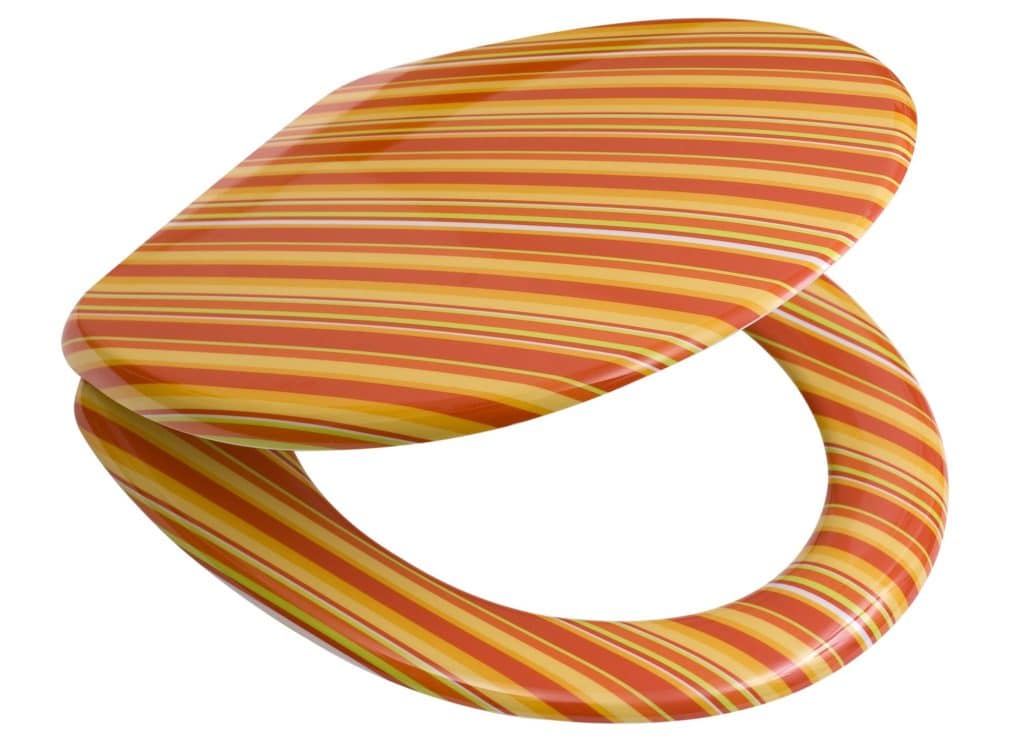
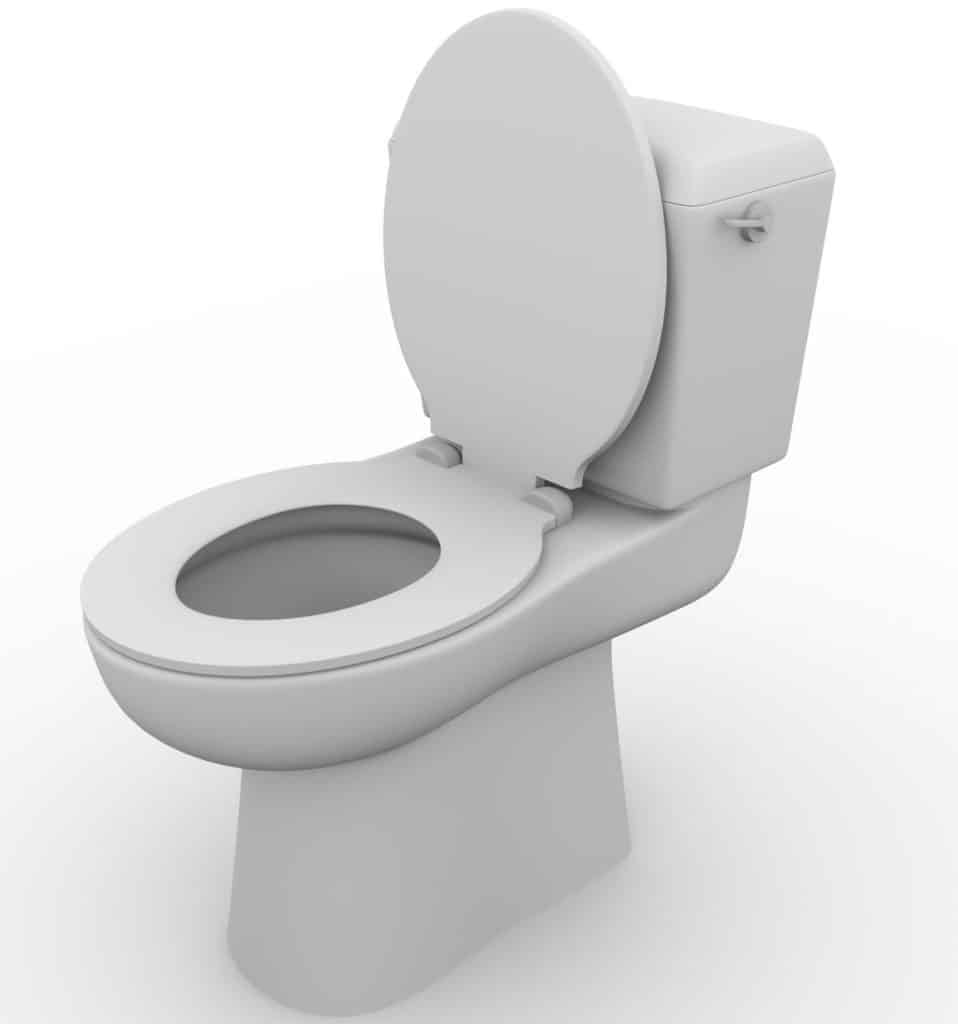
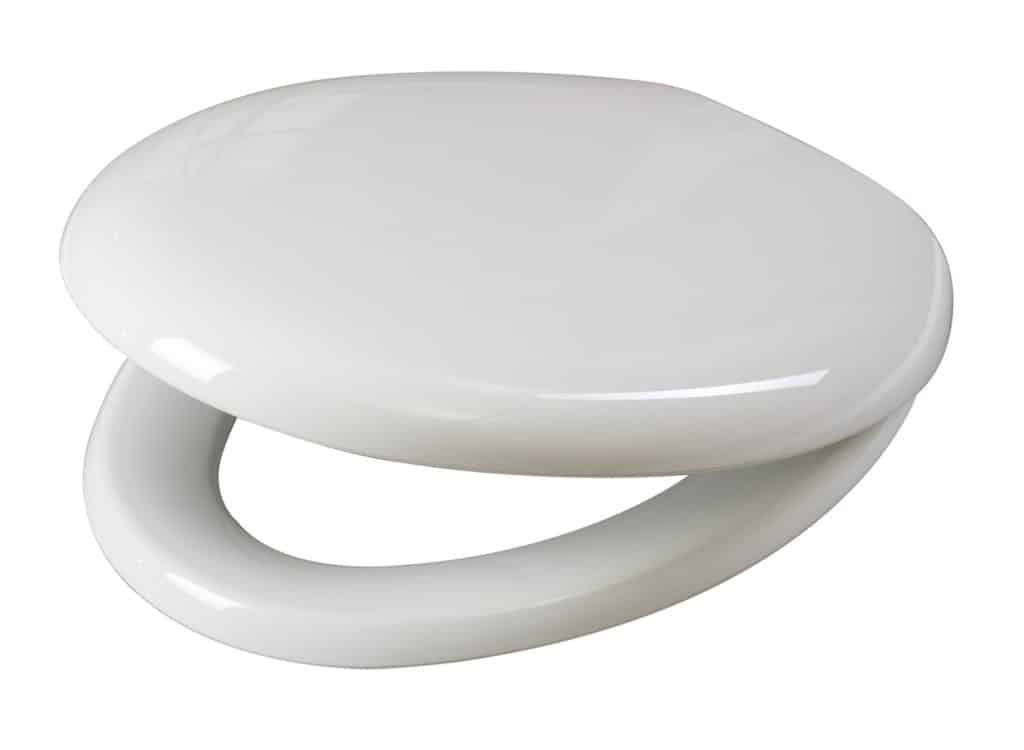
There are three things to consider when choosing a seat: shape, size, and material. When choosing a shape, you should give preference to options that will match the shape of the toilet. To do this, you can take a picture of the existing seat and show it to the consultant when purchasing. In order not to be mistaken with the size, it is worth knowing the distance between the mounting holes, the width, and the length of the plane of the toilet bowl. The correct shape and size will ensure comfort and hygiene. It is also important to pay attention to the choice of quality material. In the production of toilet lids, the most common are:
- plastic
- PVC (polyvinyl chloride covering)
- wood, chipboard, and MDF
- duroplast
The most common are plastic seats. It has a low cost, but at the same time, it is most susceptible to mechanical stress, short-lived. PVC is the same plastic seat but covered with a layer of foam, which provides softness and an interesting design. Such products are short-lived, they wear out quickly and will last no more than 3 years. The advantages of wood, chipboard, and MDF are their environmental friendliness and warmth, due to which the contact of the material with the body is quite pleasant. Such products are not very popular and are purchased mainly to satisfy taste preferences. Duroplast is an advanced type of plastic. It is characterized by durability, the ability to withstand mechanical stress, resistance to chemical influences, aesthetic appearance, and hygienic properties. Therefore, when choosing a toilet seat, you should give preference to this material.
Step two: removing the old cover
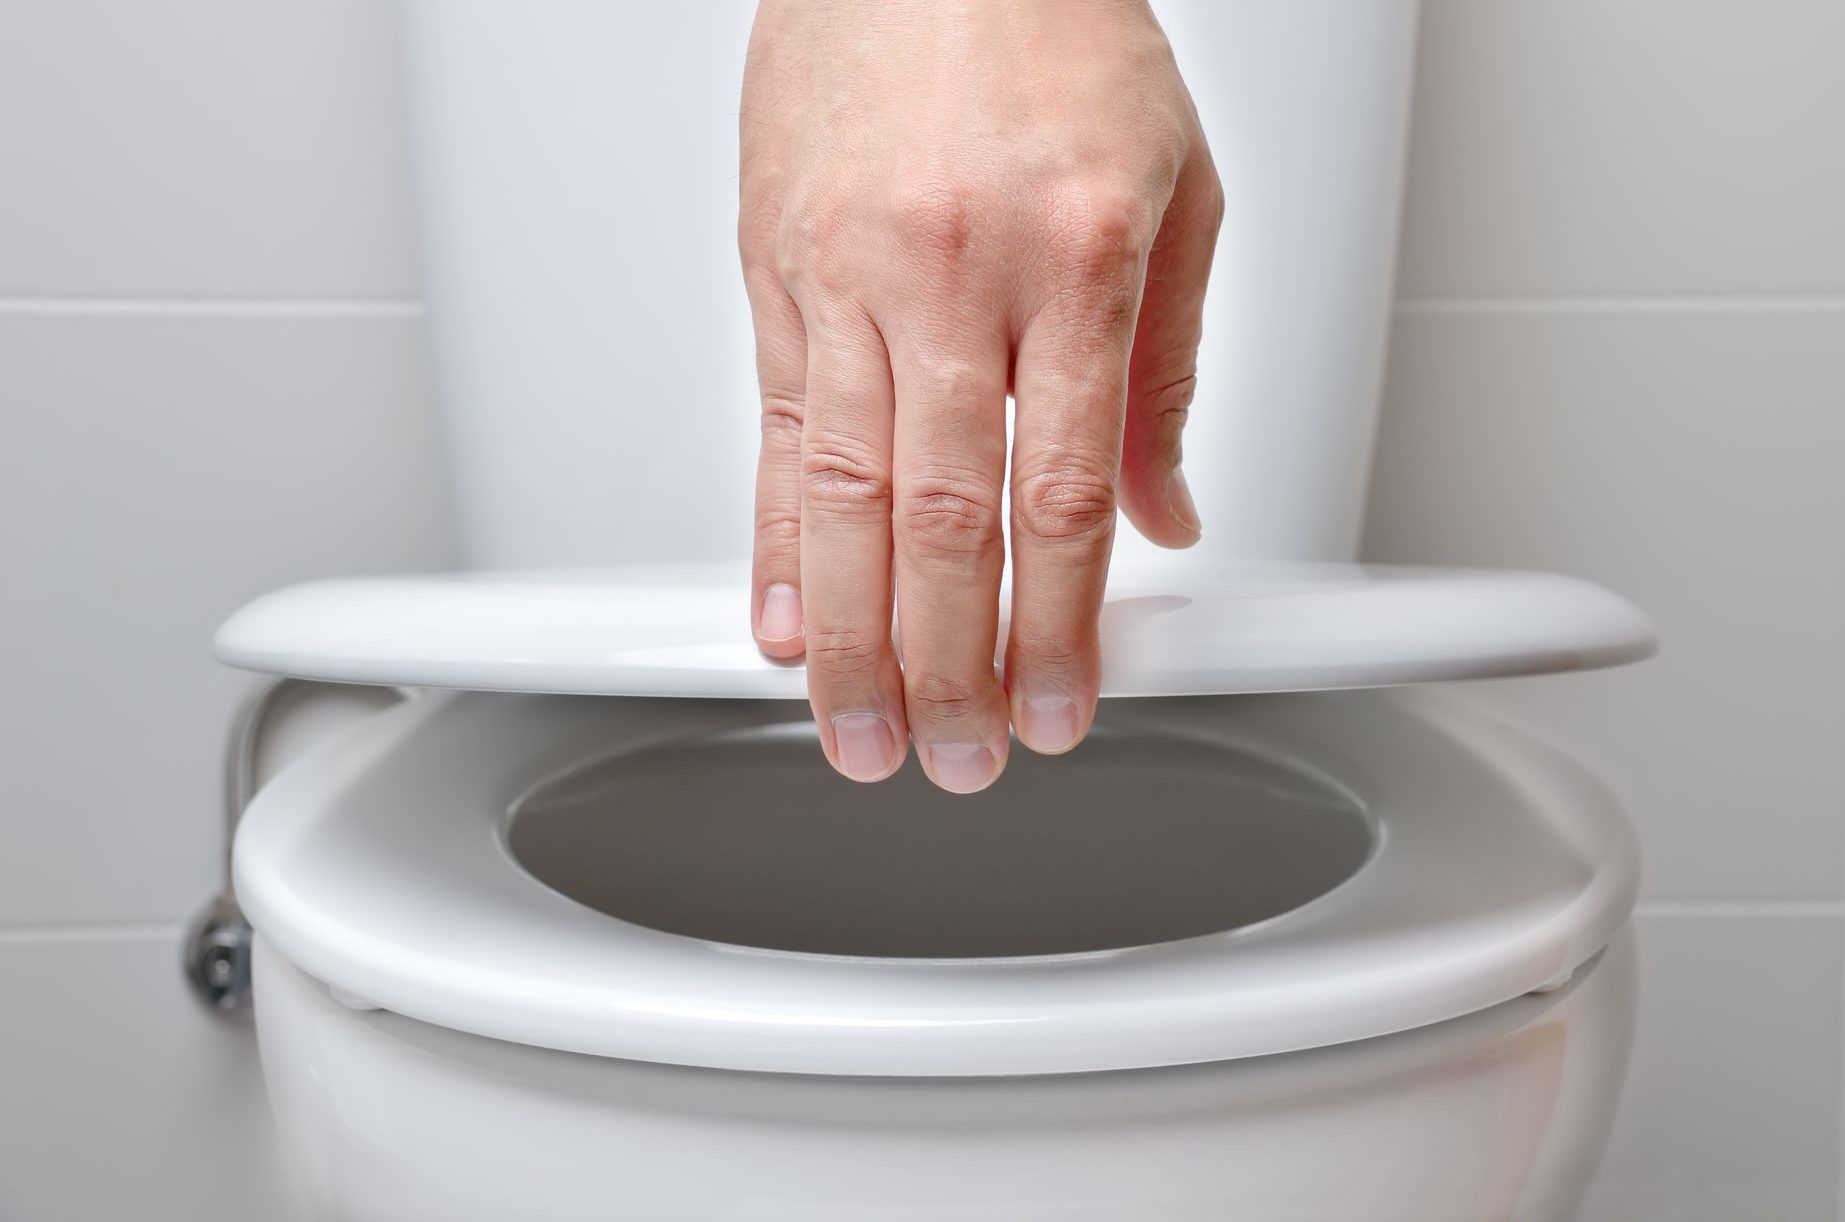
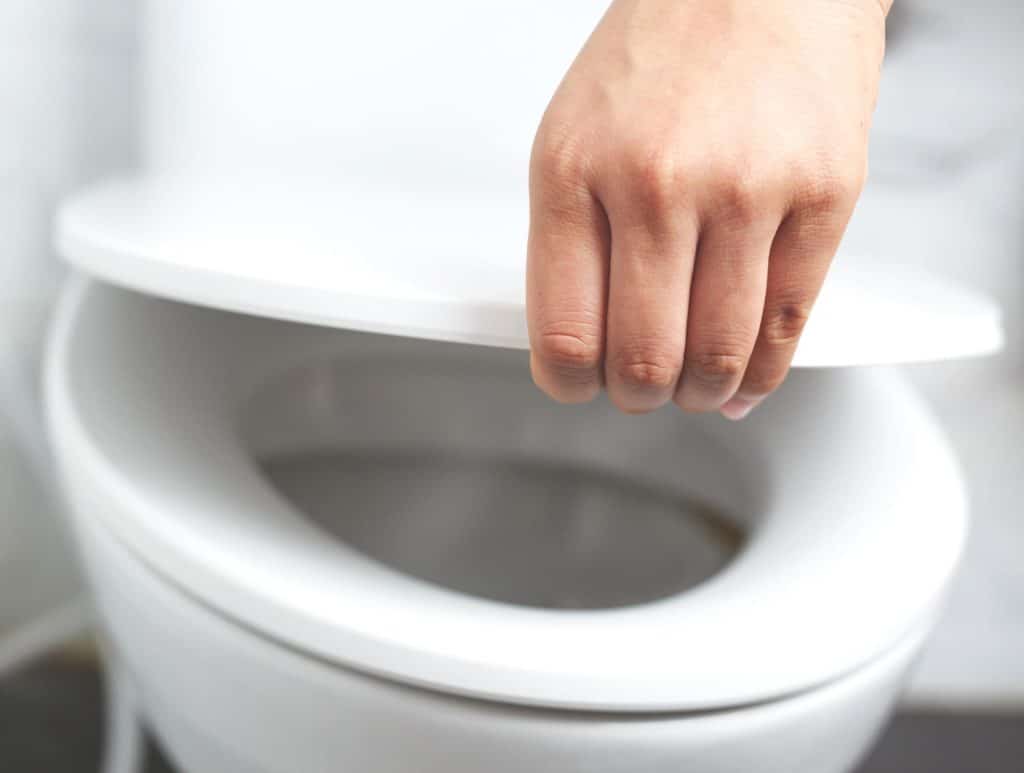
To install a new toilet seat, you first want to remove the old cover. The older it is, the more difficult the dismantling process can be. The first step is to lift the toilet lid and leave the toilet seat down. The attachment point is under the rear edge of the toilet, the seat is fixed with screws. The ease or complexity of the process depends on the material of the bolts.
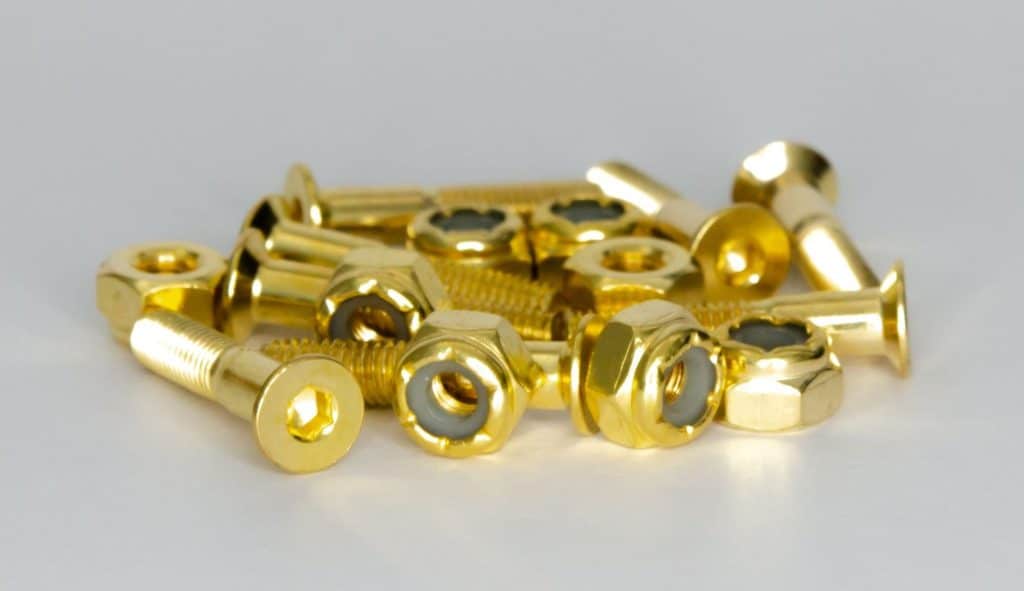
REMOVING THE PLASTIC BOLTS
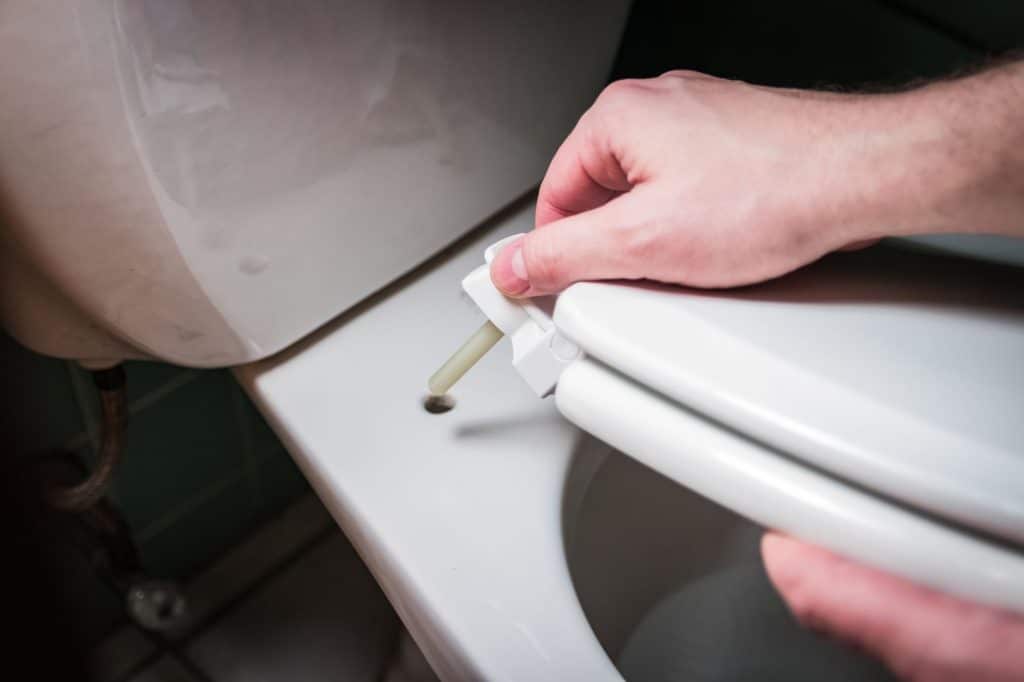
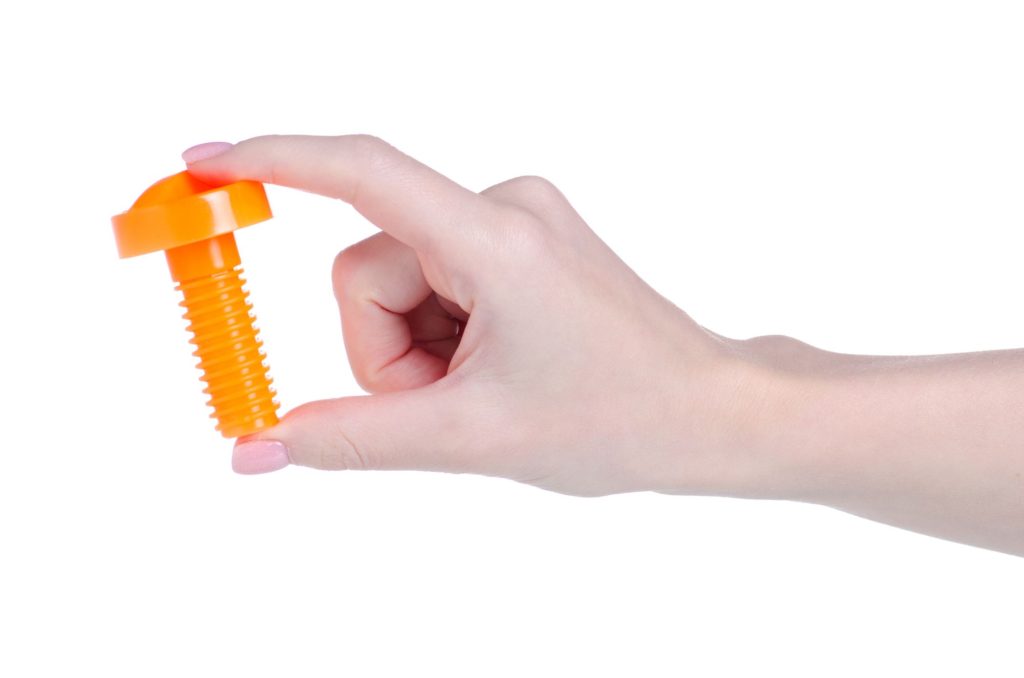
If the product is a new sample, then it is attached with plastic bolts. You want to unscrew them by hand or with a key. In case of problems with unscrewing, you may want to heat the knife and cut off the fasteners with it. During this process, there is a risk of staining the toilet bowl. There is nothing wrong with that, after hardening, the plastic is easily removed. Plumbers recommend choosing seats with this type of attachment.
REMOVING BRASS BOLTS
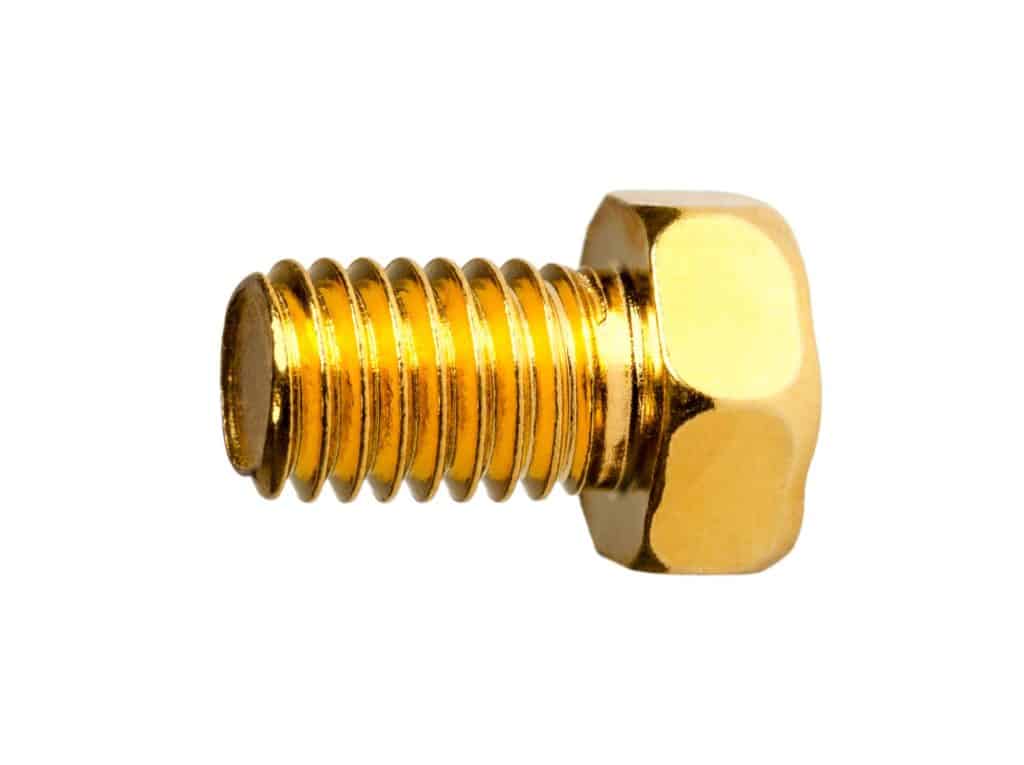
If you have difficulty unscrewing the brass mountings, then solving this problem is quite simple. It is worth treating the thread and the section of the toilet in the place of fixation with kerosene or machine oil and wait a couple of minutes. After a while, the bolts can be easily unscrewed.
REMOVING STEEL BOLTS
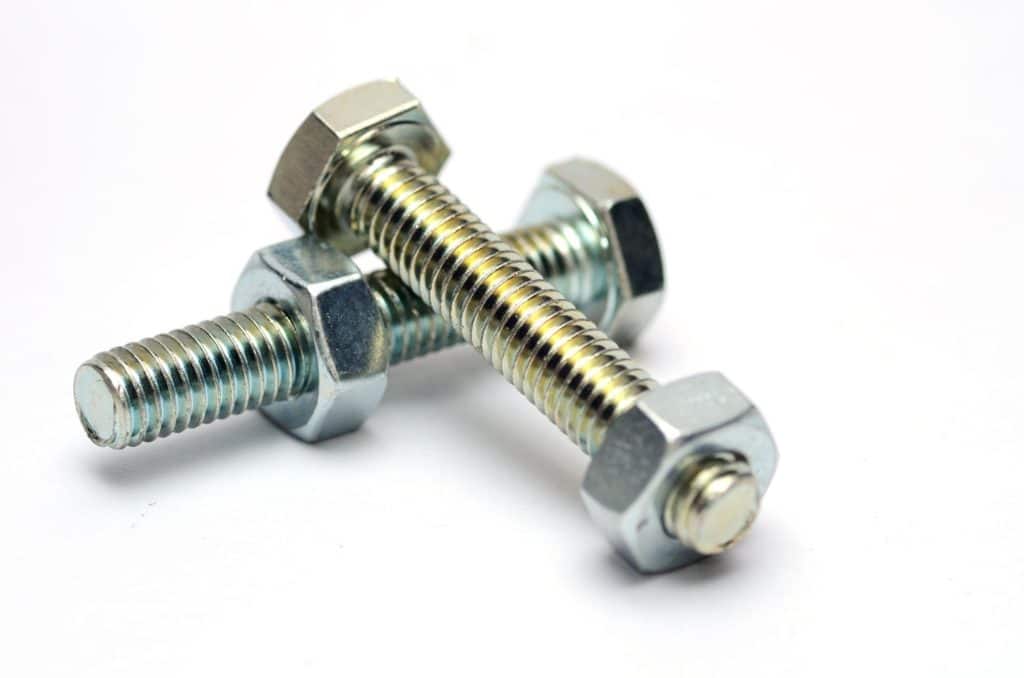
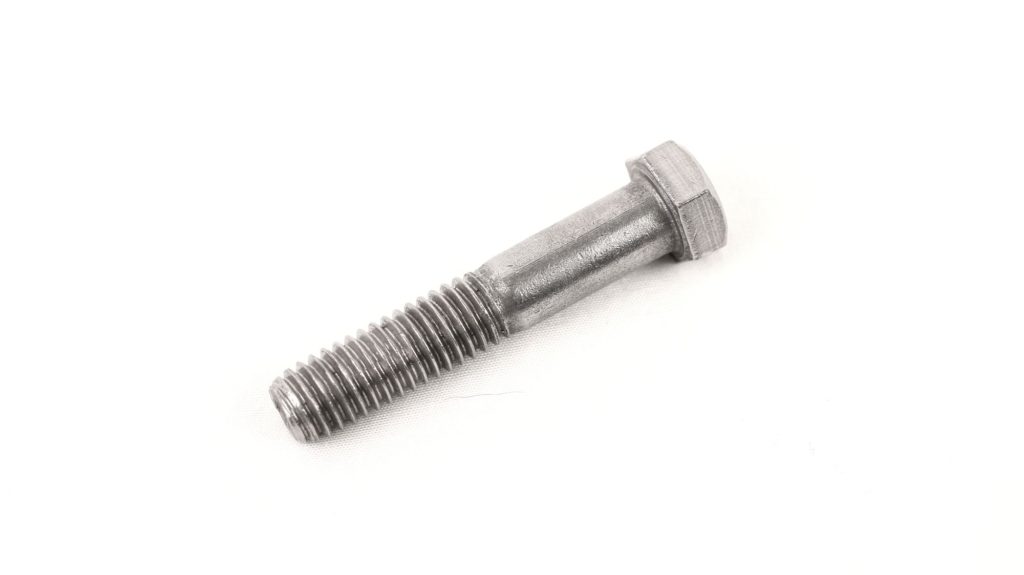
The hardest part to remove is steel bolts and nuts that have corroded. To begin with, you should try to unscrew the mount using a socket wrench. If this turned out to be unsuccessful, then there are two more ways. The first is to buy a special lubricant that can penetrate between materials and freeze rust. It needs to process the bolts and wrap them with a cloth for 15 minutes. By its cooling effect, the pieces of sediment begin to crack, thus loosening the bolts. After the specified time has elapsed, try to unscrew the mount in the usual way. If this option does not work, you will have to resort to using a conventional electric drill. Insert a smaller drill into the drill and drill a nut with it from the bottom to the top edge. After that, it is necessary to insert a metal rod into the hole and “break” the nut with swinging movements.
Step three: installing a new seat
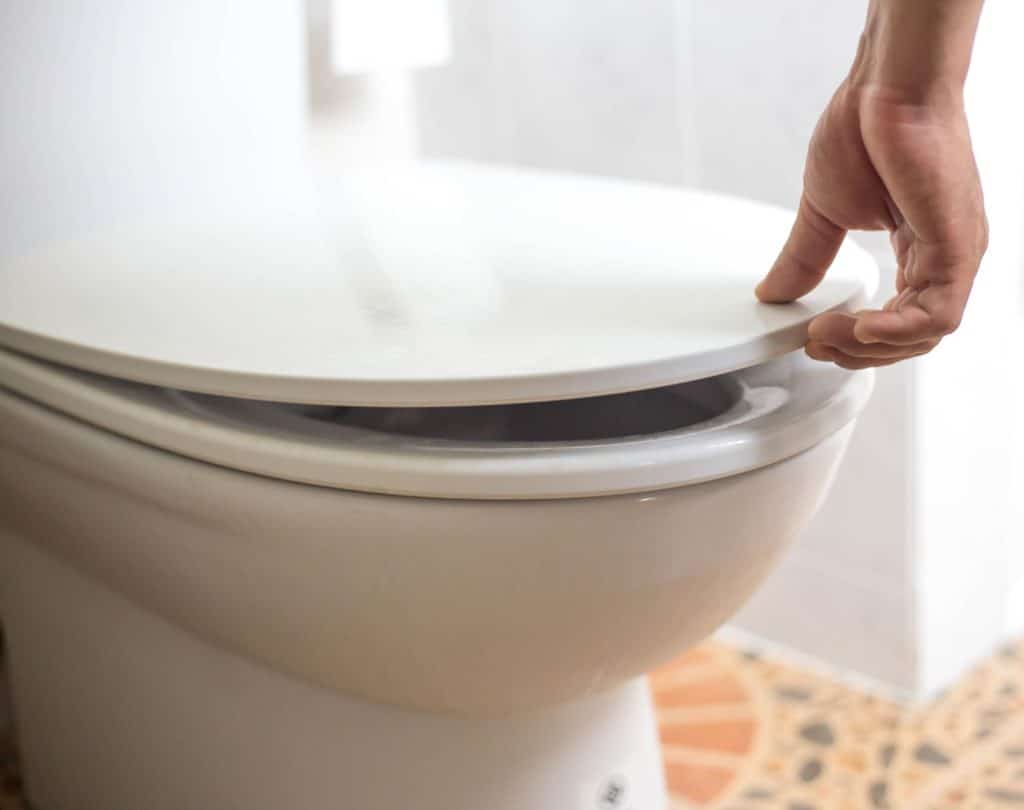
After the old cover has been dismantled, you may proceed to the next and most important stage – a new cover installation. To begin with, it is worth tidying up the place of fixing the new product, cleaning it from plaque. Oftentimes, installing a regular toilet seat does not require any special skills. An important role in the installation issue is played by the appearance of the toilet shelf. They come in two versions: overhead and solid.
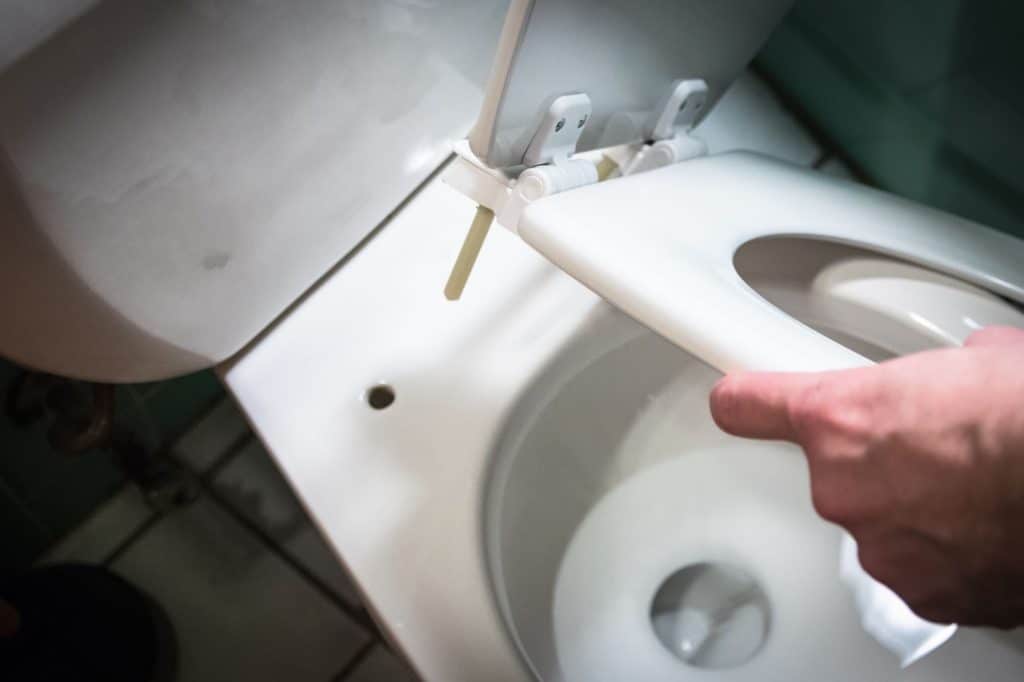
INSTALLING STALLING A TOILET SEAT WITH A SOLID SHELF
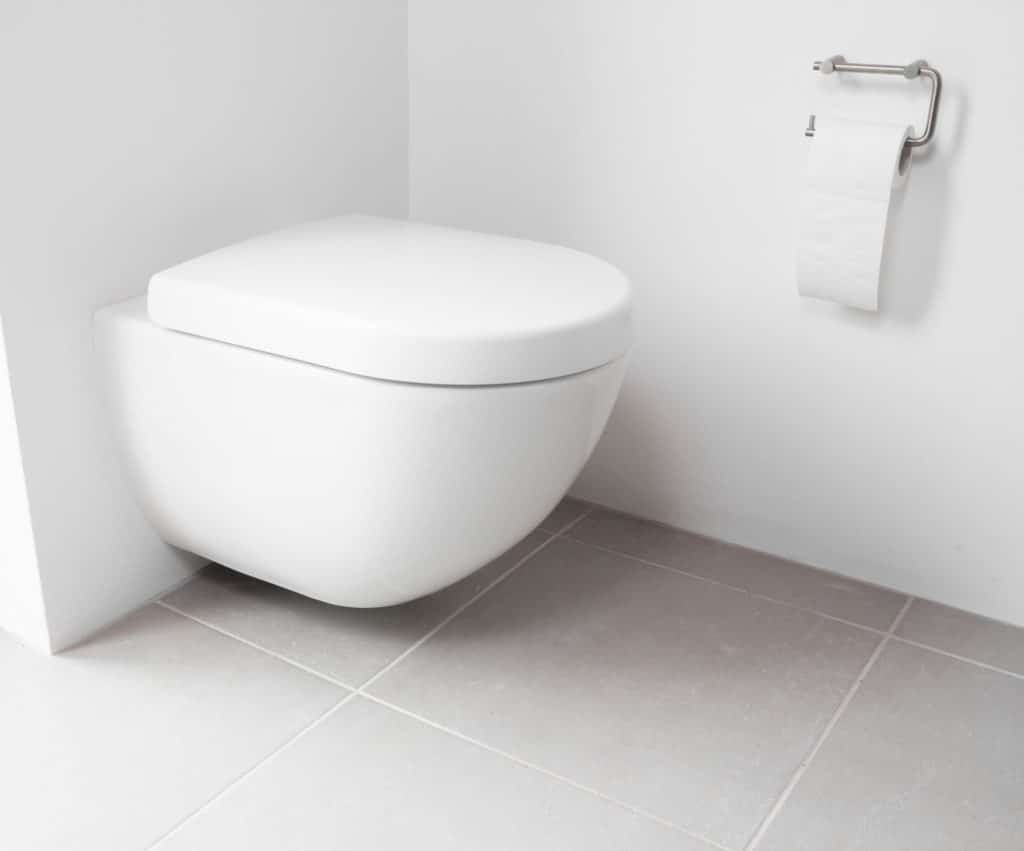
To install the toilet seat, you need to insert the bolts into the hole in the cover and then into the hole on the shelf of the toilet. During installation, the seat must be moved forward as far as possible. Then tighten the bolts. In this process, it is important to not overtight it. Tightening the bolts too tightly can restrict the movement of the cover. When using plastic screws, there is a risk of breaking them. And in the case of insufficient fastening, the seat, on the contrary, will move too much, which will cause a quick breakdown. Therefore, it is very important to find a middle ground.
INSTALLING A TOILET SEAT WITH A COVER PLATE
Attaching the lid to the toilet is somewhat more difficult than in the previous case. This is because the seats fit into the same holes as the water tank. First of all, you need to screw thin fastening plates to the toilet, which are made of polyethylene. They are fixed between the toilet bowl and the shelf. Then the ears of the toilet bowl, the seat fasteners and the shelf are bolted together. There are L-shaped fasteners. They need to be placed on top of the shelf, and also tighten the structure with bolts.
FEATURES OF INSTALLATION OF THE SEAT WITH ADDITIONAL FUNCTIONS
In addition to the usual seats, manufacturers supply their products with additional functions. Among which the following are most common:
- Microlift
- Heated seat
- Built-in bidet
- Backlight
Their installation is significantly different from that of a conventional seat.
FEATURES OF INSTALLING A SEAT WITH A MICROLIFT FUNCTION
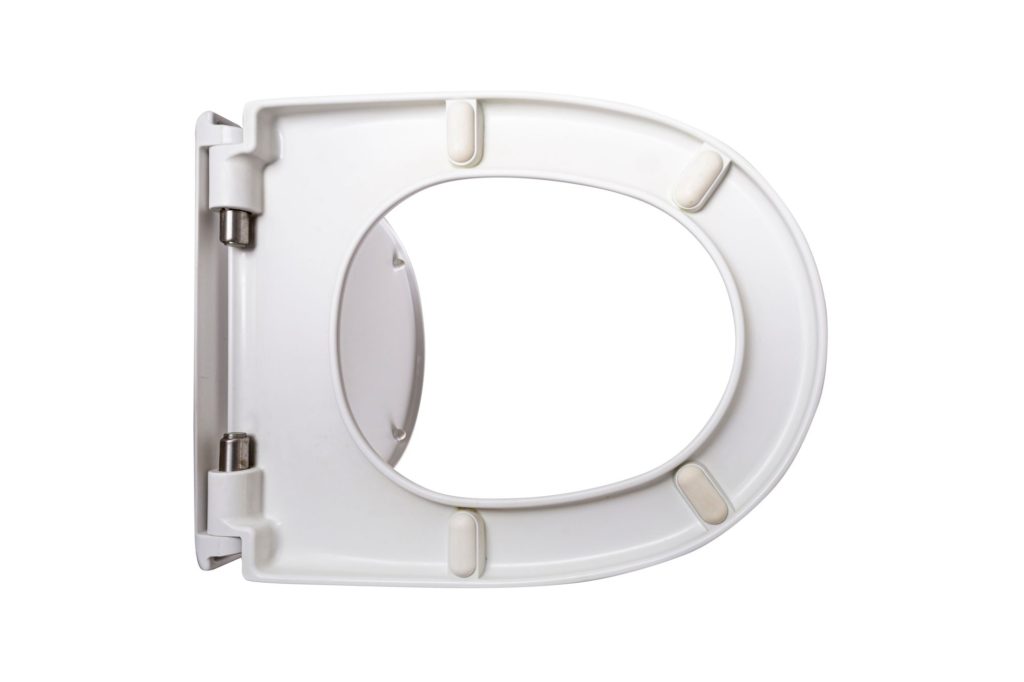
The microlift function provides smooth automatic lowering of the lid. Thanks to this, the seat is maximally protected from damage and does not generate noise. In order to install such a seat, you need to connect the lid and the toilet using a plastic sleeve. Then insert the fixing bolt and lay in some rubber pads, which will ensure a soft fit and tightness. The seals must be inserted into the seat, which is connected to the latches on the toilet. Then a container is installed on the bolts, the task of which is to adjust the reliability of fit and the height of placement. And in the end, the whole structure is reinforced with nuts. At this point, the installation phase of the seat can be considered complete.
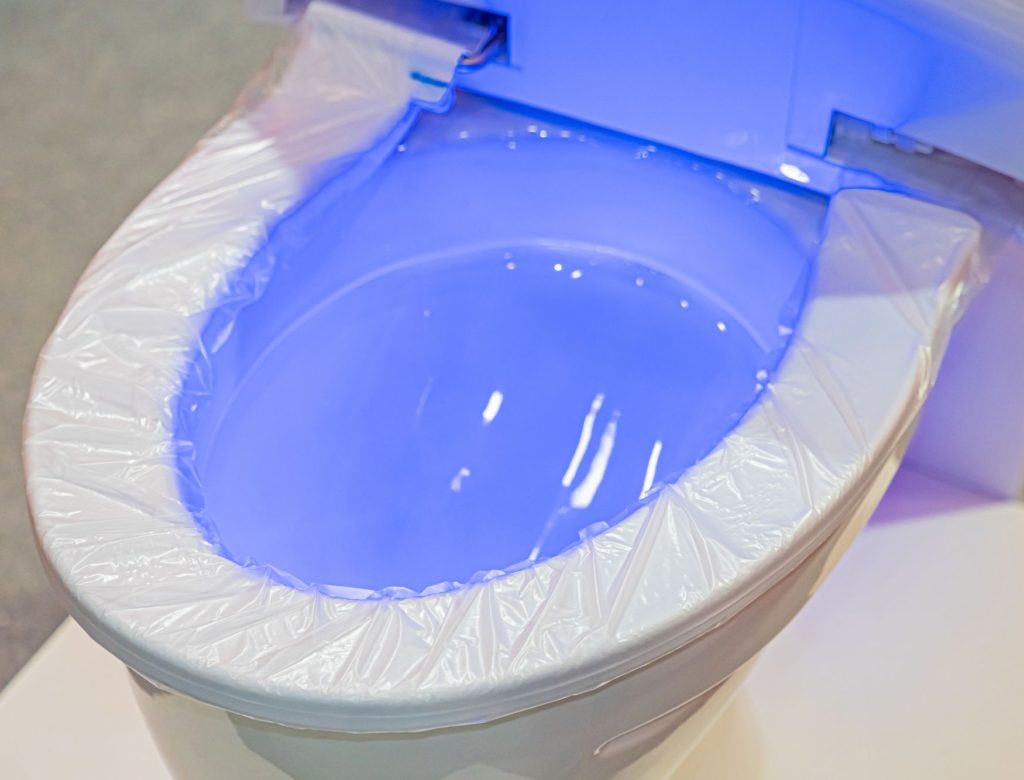
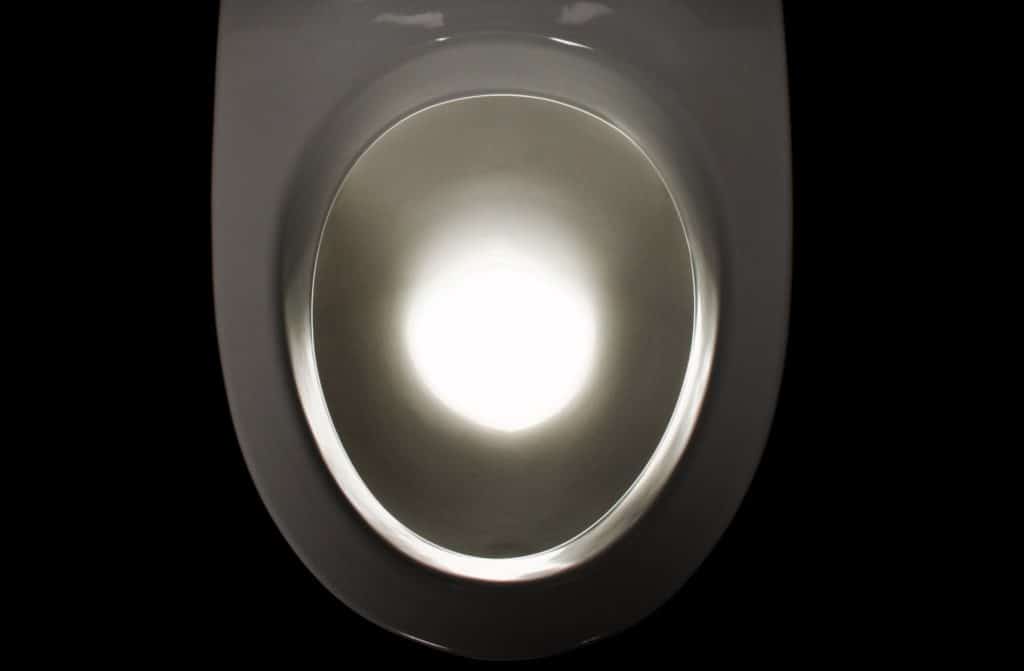
When installing heated or illuminated covers, you will need to provide an electrical connection. When choosing such seats, it is important to take into account that an outlet must be located nearby, or you will have to use an adapter. When installing a product with a bidet function, there is a need to connect the seat to the water supply. Accordingly, when installing such covers, it is recommended that you still seek help from a specialist. Otherwise, the existing mechanism can be inadvertently broken.
From this, we can conclude that it is not necessary to go to a plumber to replace or install a standard toilet seat. You just have to familiarize yourself with the above list of actions and the instructions attached to the seat. And then you can cope with the task on your own.